Tuesday, January 29, 2013

Pot Stickers

I love Chinese food.  And Japanese food.  And Korean food.  And Filipino food.  OK, if it's the general category of Asian, I like it.  My favorite is "House Special Lo Mein."  Yes, I know that many dishes served at your local Chinese joint are considered "Americanized Chinese Dishes, " and that's fine.  There's nothing like thick noodles, crisp veggies and salty chicken, beef and pork.  Take me to a buffet and I'll get kicked out.  "You go home now!" (name what that line is from)

Anyway, I recently conquered a challenge, one of my favorite foods - pot stickers.  I've never been good at any foods that require filling and sealing and then cooking.  This time, I figured, I'll try.  If I fail, I fail... If I succeed, I succeed.  And... I succeeded.

This is a recipe that really has no measurements.  I probably looked at 10 different recipes on the net and came up with my own.  *Disclaimer - If the following strongly resembles your recipe let me know and I will credit.


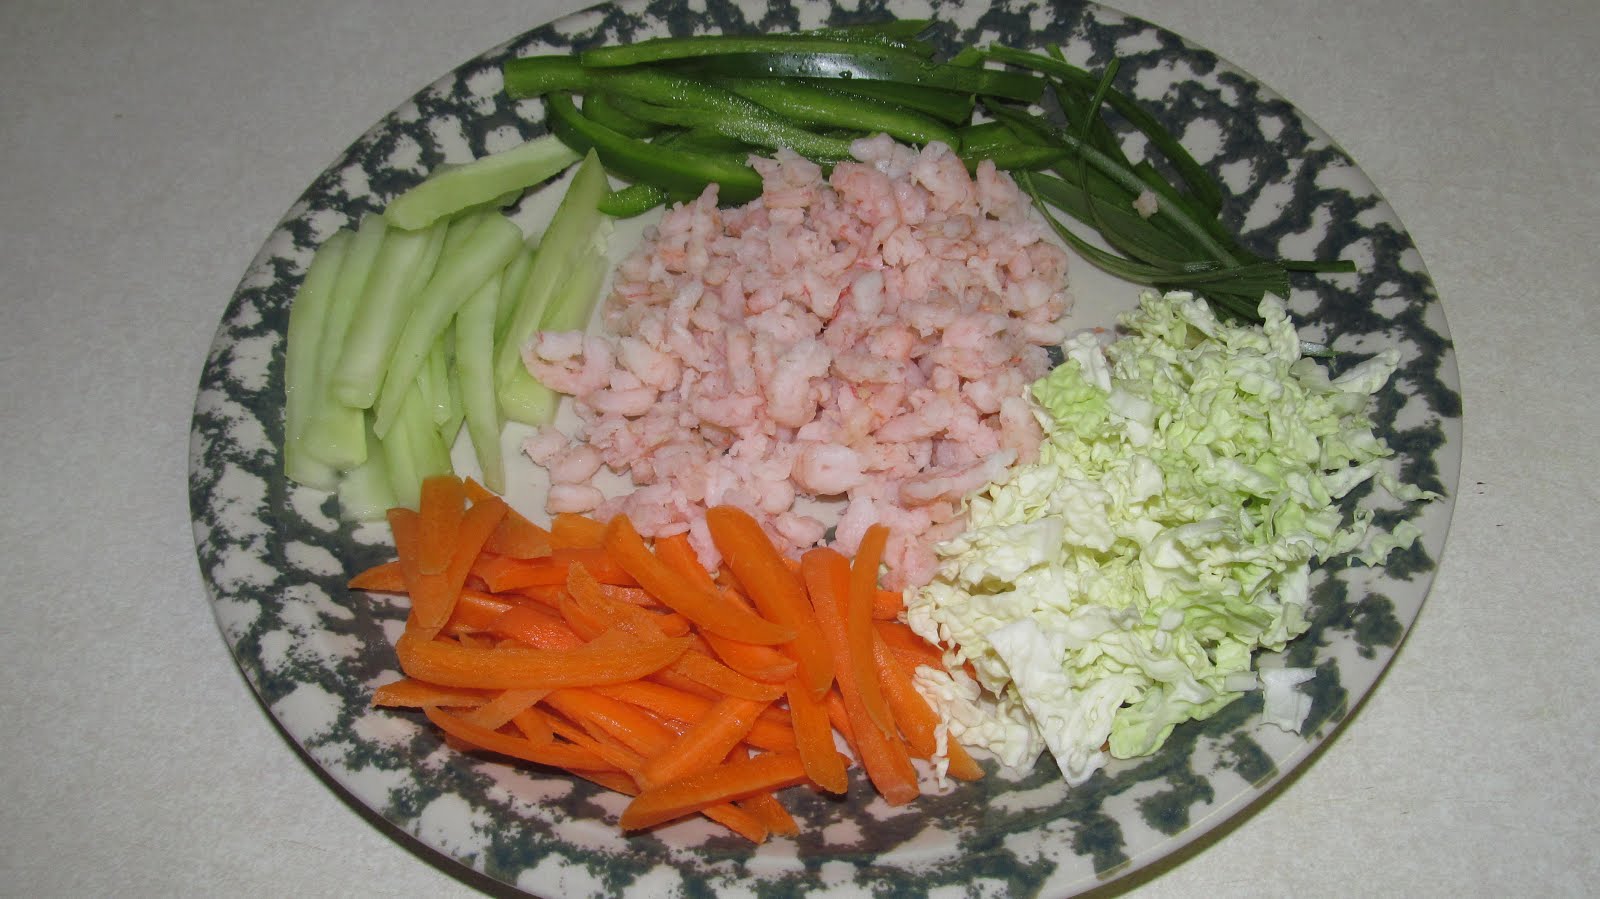
Ground chicken - I used about half that package
savoy cabbage
ginger
shallot
green onion
soy sauce
oyster sauce
pepper
store bought wrappers
(ignore the shrimp, lol)
 
I cooked the chicken.  Most of the recipes have you fill dumplings with raw meat, but I felt more comfortable cooking it first.  You can do either, I don't know that it makes that much of a difference.
 
Chopped about a cup of the cabbage, a garlic clove, 2 stalks of green onion (only the green part), and a shallot.  I personally hate biting into ginger, no matter how little a piece, so I diced about 2 inches of ginger and used my garlic press to kind of "juice" it.
 
I took the chicken and everything but the cabbage and pulsed it in the food processor to make it a little more even in texture.  While doing that I added about a ts of oyster sauce and 2 ts of soy sauce and a few shakes of pepper.


I ended up with about a cup of cabbage to a cup of the meat mixture.
Once mixed up, I started my dumplings.


Wet the edges and put about a ts of filling in the middle.  Fold over and seal the edges.


I didn't get too fancy on the first few.  I was just happy that the seal was holding.  But then I thought I'd try to pleat them.  I'd watched a couple videos on YouTube and actually did it!  (BTW, this guy rocks!  His cooking videos are very helpful and he's hilarious! runnyrunny999 )


Not beautiful, but did it.  They got a little nicer as time went on.  This batch made about 20 potstickers.
 
 
The cooking process that I used was as follows:  Put a little oil in a non stick pan and fry pot stickers until golden brown.
When browned, (and you have to be careful at this point because you're adding water to hot oil.  I actually used a paper towel to wipe between them to get some of the oil out) add about half an inch of water to the pan and quickly put a lid on to steam.  Steam until the water is almost gone and take lid off.  Then, cook until water is gone.  At this point I kept swirling the pan around so they didn't stick.
I saw some people did the opposite and steamed or boiled first and then pan fried but apparently they stuck really bad. 

 
Anyway, my end product.  Really good but I probably won't make them very often.  Very time consuming so I might make once in a blue moon and freeze the batch.  BTW, sorry about the messy plate but I forgot about taking an individual picture until I was on my last one...
 

Tuesday, January 22, 2013

Chicken Nuggets

Yay! Pictures are working again! 
 
Ok, so here's something that will really blow your socks off.  At least mine went flying...
 
Homemade chicken nuggets.  The "Mc" version, if you will...
 
Yes, I've made chicken tenders out of chunks of breast meat breaded and fried.  This is different though.  These have almost the same consistancy as the "Mc" nuggets.  As my first attempt and a grease splattered eye later (will explain), these were fantastic in my opinion.  Adapted from Homemade Chicken Nuggets 
 
 
Ground chicken (the OP ground their own chicken breast meat but I have no way to do so.)
Spices - I used garlic and onion powder, parsley salt and pepper.  I think there is a lot of room for different spice mixtures to use here.
Flour
2 Eggs
Cornstarch (my choice, not OP)
Oil for deep frying


Mix chicken and seasoning together
 
 
Make teaspoon sized balls out of chicken
Mix flour and cornstarch together and beat egg.
 
 
Dip balls in flour and then egg, then flour again and press into nugget shapes.  Meanwhile get oil to about 350-365.
 
 
Once all nuggets are done and oil is ready, start dropping nuggets into oil.
 
***OK, here's my disclaimer - I do not have a deepfryer.  I have a small saucepan that I used because I can get the oil deep enough in it to deep fry.  First batch I put in was going well until one of the nuggets had some moisture I guess where flour wasn't coating and grease started splattering and little mini fires started on my coils. I also took a splatter to the right eye as I was trying to control the mess.  I got through the first batch (pictured) and got them out and turned the heat down a bit.  After that, I was fine.  They turned a nice golden brown after 6 or 7 minutes with some turning in between. 
 
 
Done nuggets
 
 
Inside of nuggets.
 
They do look a lot like "Mc" nuggets and as far as I can report, taste a little better.  But that's just me.  I made a little Siracha Mayo to dip in and they were awesome.
 
Healthy?  Well, still deep frying something isn't the healthiest, but if you're craving something like this, it hit the spot for me...


Monday, January 14, 2013

Seeds

Have you ever eaten pumpkin seeds?  How about butternut squash seeds?  I figured, what the heck, looks like pumpkin seeds only smaller.   Cleaned them up and sprayed with PAM.  Sprinkled with some onion and garlic powder and some pepper.  There wasn't much so I did them in my toaster oven at 350 for about 45 minutes stirring every 15 minutes or so.  Pretty good.  Crunchy.

 
Winter squash seeds
Olive oil or PAM
Preferred seasonings (I used garlic and onion powder and pepper)
 
350 degrees for 30-45 min stirring every once and a while


Not a fancy recipe but they are tasty. 

Monday, January 7, 2013

Spring rolls

These are called Spring Rolls as far as I can tell.  There seems to be a lot of argument about what they're called.  I guess it depends on origin and ingredients.  These are mine.
 
 carrots
cabbage
cucumber
green peppers
green onions
salad shrimp
Lay out a skin and put in what you want.


 Roll as directed and enjoy. 
 

Tuesday, January 1, 2013

Crock Pot Applesauce

I like applesauce.  It gets a little boring though.  It all tastes the same, even the fruit flavored ones.  Fruit flavored... fruit... wait, what?  Anyway, this is my version.  I got the idea here: Crock Pot Applesauce

For my take on it I used my smaller Crock because I wasn't going to make enough to can.  I also skipped the lemon peel because I didn't have any and used cinnamon powder because I didn't have sticks.  No lemon juice either.  After making this a few times now, my general formula is:

 
4 or 5 apples cored and peeled
1 ts unpacked brown sugar per apple
dash cinnamon per apple
 
 
 Slice your apples up into bite size chunks.  I like to use a variety.  For this batch I used 2 honeycrisp and a Gala and an Ambrosia.  This combo is going to be pretty sweet.  I don't like tart foods so I skip those types but you could certainly use any combo.  There's dozens of apple combos to use.
 
 
Toss everything in the crock and set to low for 4-6 hours.
This is after 6.  You can see it's pretty reduced.  I know it doesn't look like a lot here, it's because I took a couple of spoonfuls out before I took the picture.
You can see mine is pretty chunky.  If you want yours smooth, you can use an immersion blender or blender or food processor to make it extra smooth if thats what you want.  I just mash mine up with the spoon a little.
 
 
It's tasty warm.  I've stored it in the fridge in an airtight container for 5 days.  I don't know if it would go longer than that.  It's never lasted past 5 days.  You can also freeze it.  Just take it out the night before you need it and put it in the fridge.
Enjoy!